ISSUE #010 · ILLUSTRATED STORYBOARDThe Lantern Trench
FOLLOW THE DARK BETWEEN THE LIGHTS.
Read eight illustrated vector storyboards with scripts and dialogue. These are new draft illustrations, not the final fully painted comic pages.
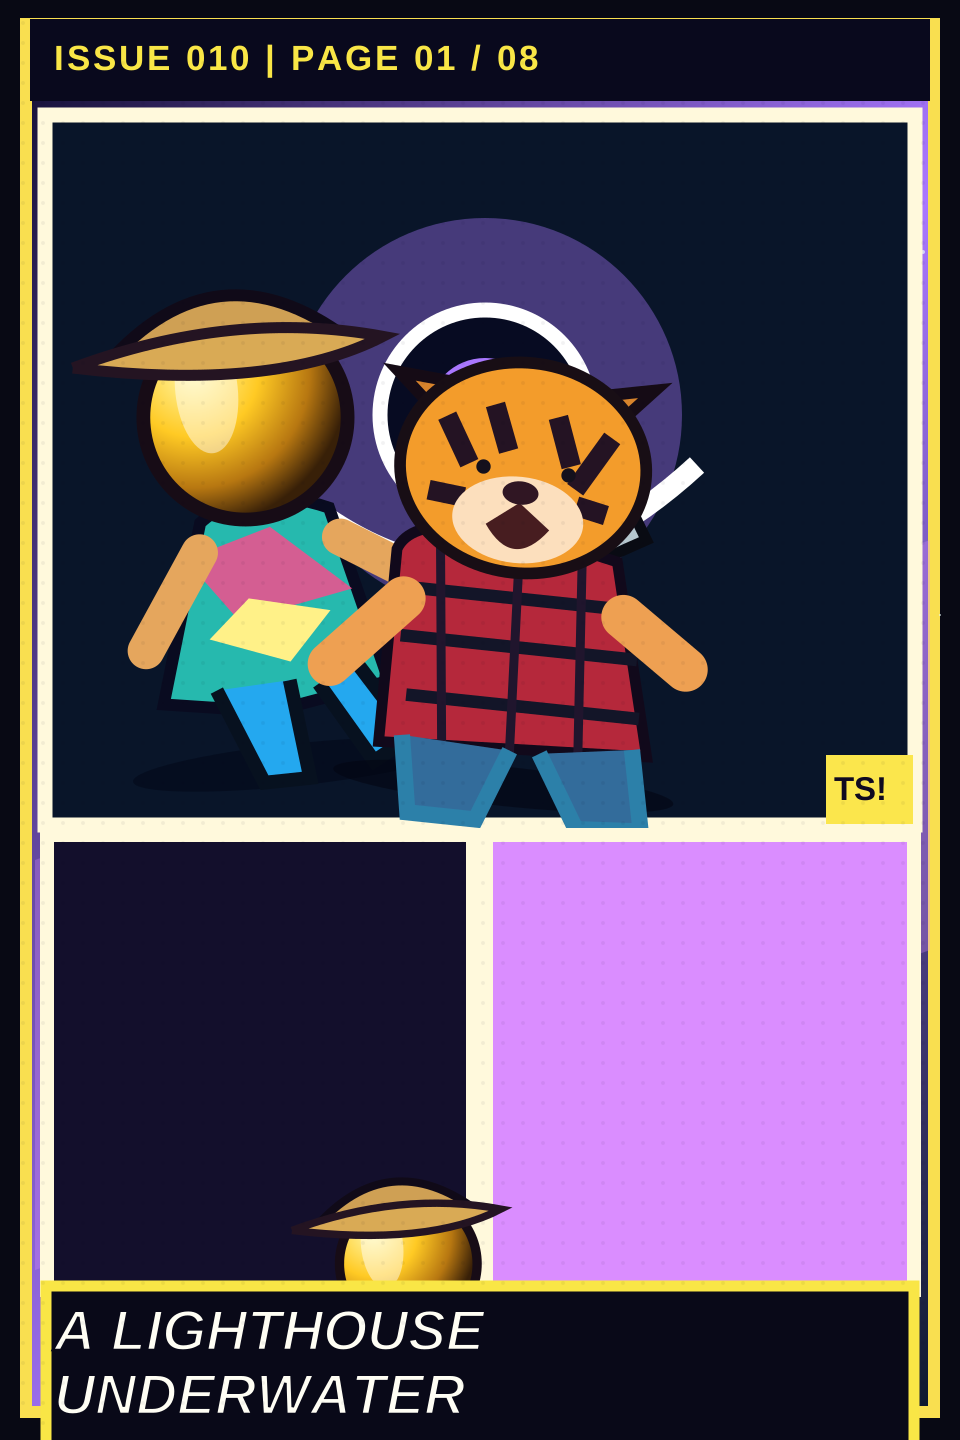
PAGE 01 / 08
A Lighthouse Underwater
The van and convoy follow Vesper's cyan flashes from The Crater to Luma-2, a dark ocean planet whose trenches glow like circuitry. The signal is strongest below the surface.
BELLWETHER: DISTRESS CALL. COORDINATES BELOW SEA LEVEL.
FLANNEL TIGER: So we're taking the van swimming?
SAMURAI: That's not how lighthouses work.
Panel-by-panel storyboard
PANEL 1
Wide space splash: battered white van and small convoy crest the shadow of a blue-black ocean planet etched with luminous canyon trenches.
THE LANTERN TRENCH. EIGHT WORLDS STILL HELD.
PANEL 2
Inside pressurized van: Vesper's holographic jellyfish bell flashes cyan dots and dashes; Bellwether's six brass moths interpret.
BELLWETHER: DISTRESS CALL. COORDINATES BELOW SEA LEVEL.
FLANNEL TIGER: So we're taking the van swimming?
PANEL 3
Gold-sphere fisheye inset reflects an impossible underwater lighthouse whose beam points DOWN into a canyon.
SAMURAI: That's not how lighthouses work.
PANEL 4
Van plunges through Luma-2's violet clouds toward a storm-dark ocean; Samurai tucks the unpaid brass staple into a secure toolbox.
00:00:01 — STILL UNPAID.
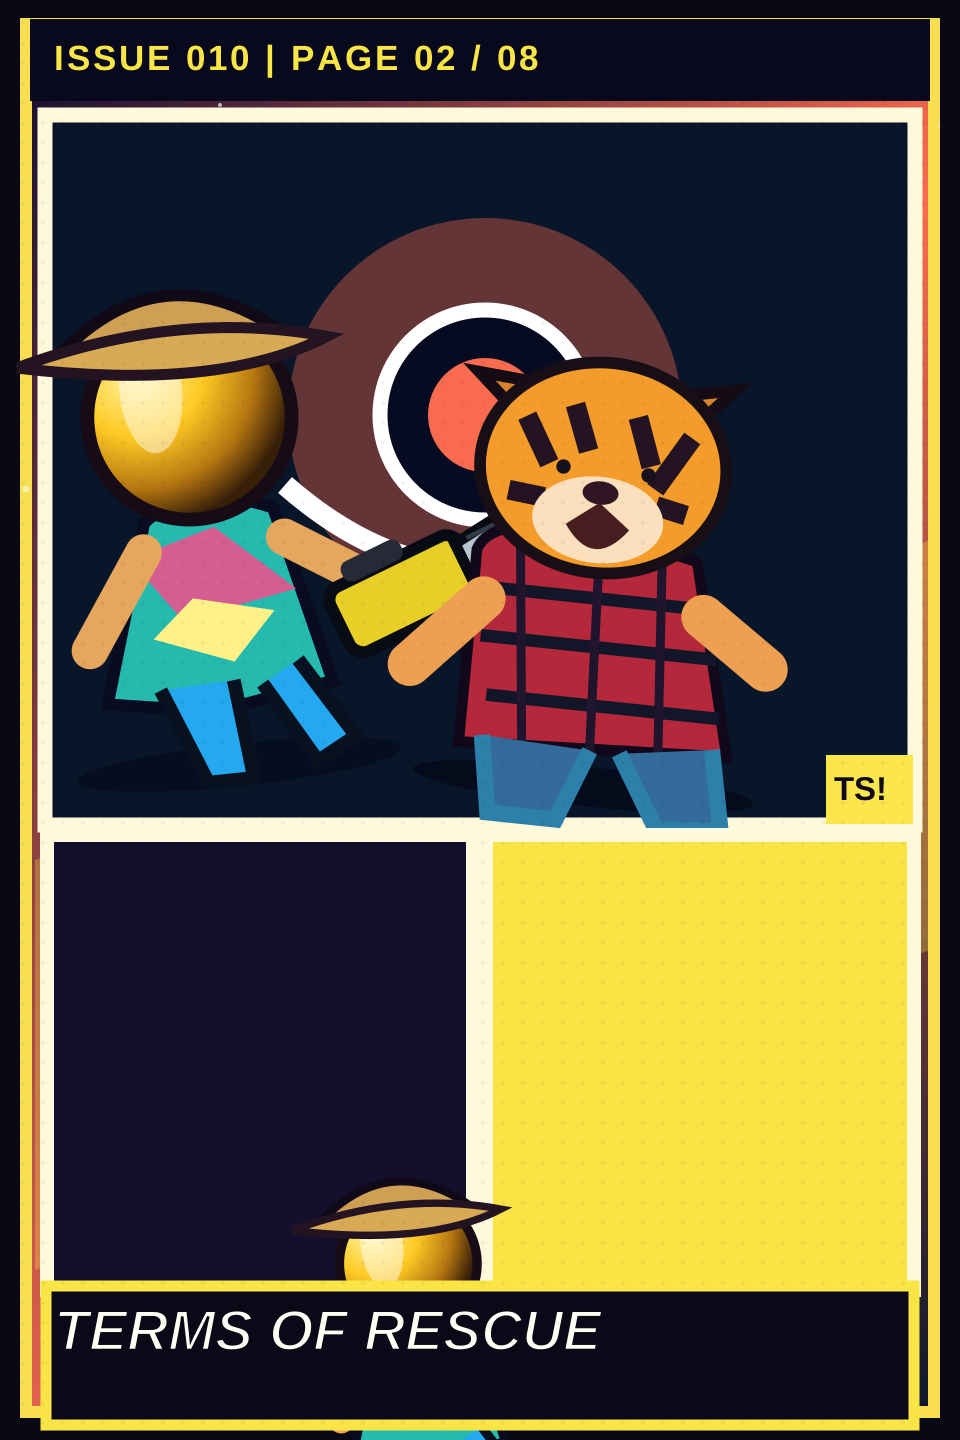
PAGE 02 / 08
Terms of Rescue
A light tower offers the team a 'rescue license'. The first distress flash is a mechanical lure, while a translucent crustacean caretaker named Kett warns that the true world speaks in pauses.
BEACON BAILIFF: TO RESCUE, FIRST AGREE TO BE OWNED.
KETT: DON'T ANSWER THE BRIGHTEST LIGHT.
SAMURAI: That beacon's looping. Real emergencies don't have a screensaver.
Panel-by-panel storyboard
PANEL 1
The van, sealed and pressurized, descends between enormous luminous reefs and translucent nonhumanoid creatures; no human divers.
THE WATER IS FULL OF LIVING LANTERNS.
PANEL 2
A brass tower of buoys and contract printers flashes a bright neon SOS above a sign: ACCEPT ASSISTANCE = TRANSFER CUSTODY.
BEACON BAILIFF: TO RESCUE, FIRST AGREE TO BE OWNED.
PANEL 3
Kett, a six-legged glass-shell crustacean with tiny floating lantern organisms inside, clings to the van's windshield.
KETT: DON'T ANSWER THE BRIGHTEST LIGHT.
PANEL 4
Samurai's smooth reflective gold sphere shows the fake SOS repeating perfectly, while a dim reef behind it flashes unevenly.
SAMURAI: That beacon's looping. Real emergencies don't have a screensaver.
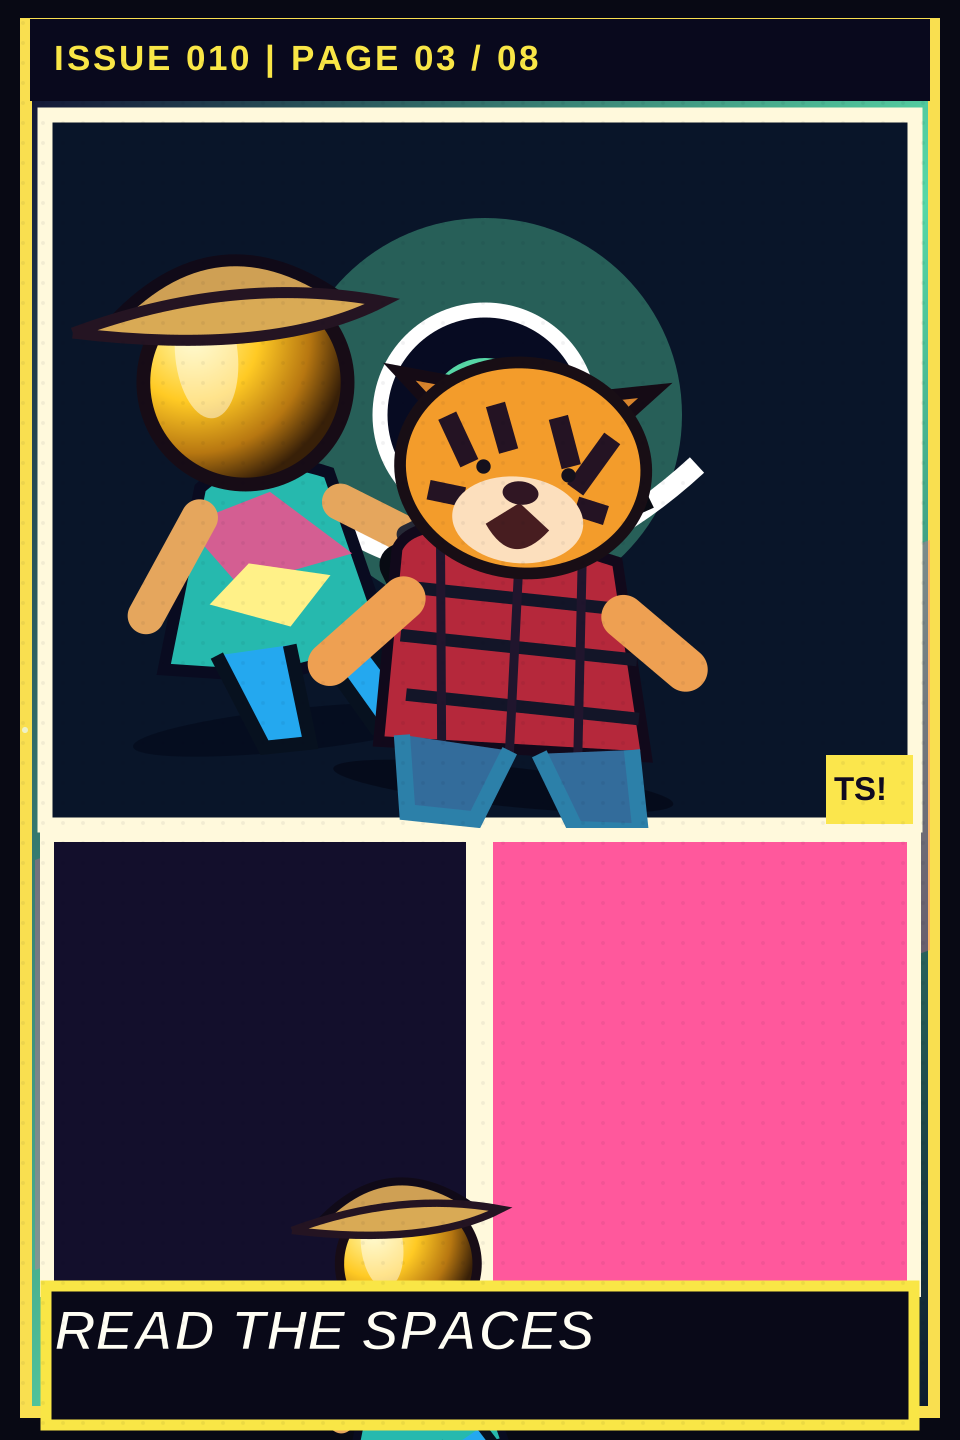
PAGE 03 / 08
Read the Spaces
Vesper cannot speak, so she uses light to show that the true message is encoded in the irregular dark intervals, not the bright flashes. Bellwether records the original pattern.
BELLWETHER: VESPER SAYS TO READ THE GAPS.
FLANNEL TIGER: My alphabet is mostly splashes.
SAMURAI: That's not an alphabet.
KETT: LUMA-2 IS THE REEF. THE BEACON IS ITS CAGE.
Panel-by-panel storyboard
PANEL 1
Inside the van, Vesper's blue-violet jellyfish hologram blinks a short message in bright light: READ / THE / DARK.
BELLWETHER: VESPER SAYS TO READ THE GAPS.
PANEL 2
Macro of six brass moths tracing alternating bright and black bands on the windshield; the fake beacon is regular, the living reef irregular.
COPIED LIGHT REPEATS. LIVING LIGHT ANSWERS.
PANEL 3
Flannel Tiger tries to make the hose spell a message in floating bubbles; the bubbles spell nothing useful.
FLANNEL TIGER: My alphabet is mostly splashes.
SAMURAI: That's not an alphabet.
PANEL 4
A trench-wide negative-space reveal: the intervals between reef flashes align into the outline of a vast bound living planet.
KETT: LUMA-2 IS THE REEF. THE BEACON IS ITS CAGE.
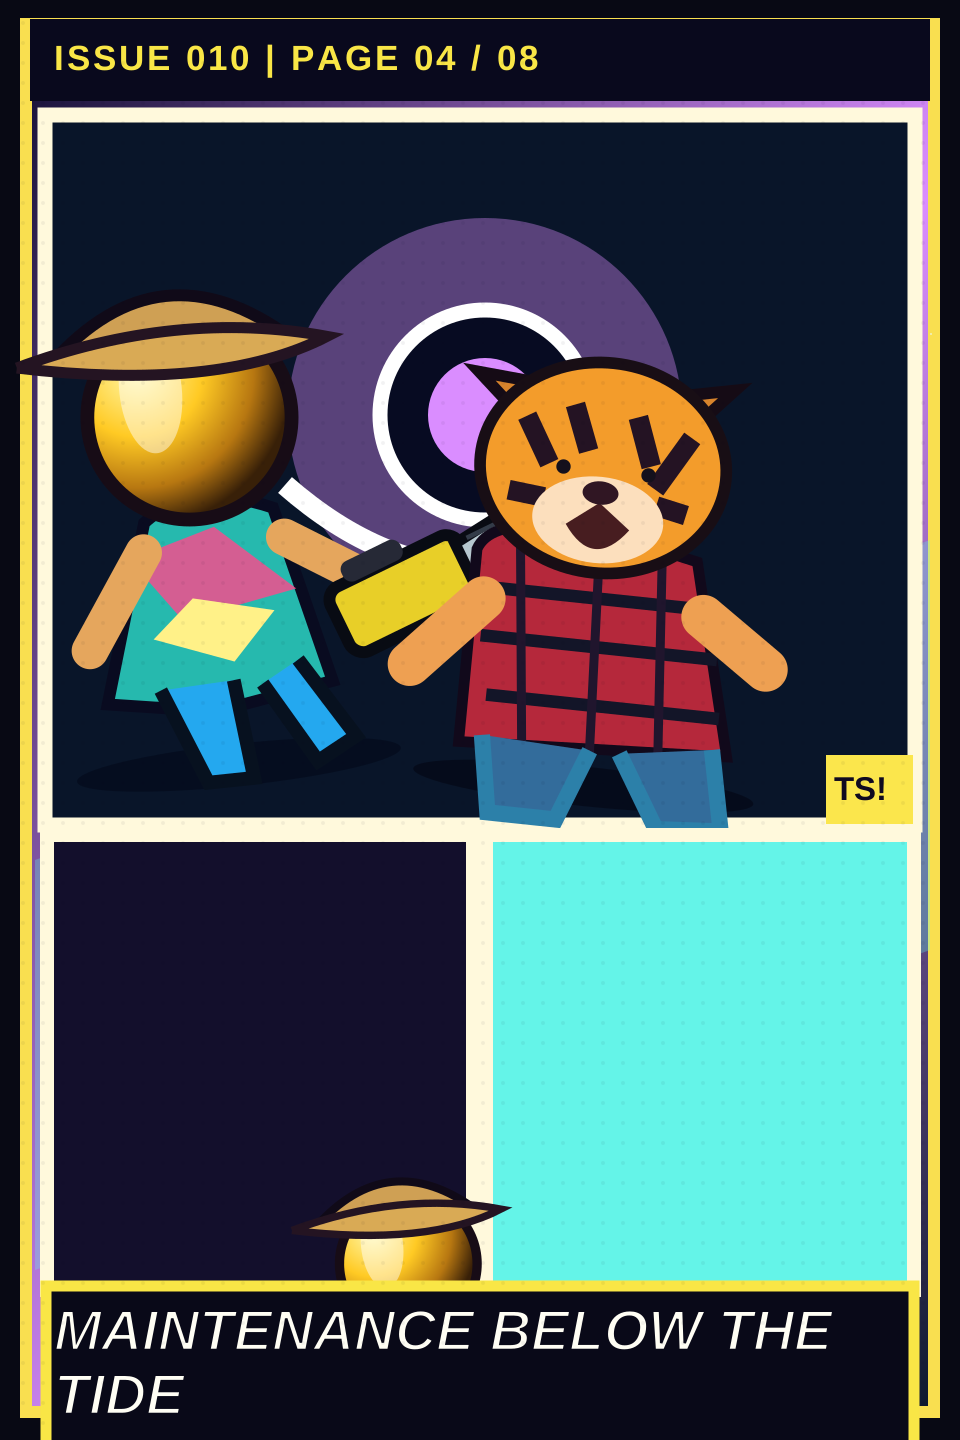
PAGE 04 / 08
Maintenance Below the Tide
Samurai uses both recovered keys to access a dry maintenance chamber. The Bailiff reroutes the false lighthouse into a custody lock while the van's old server fan begins failing.
SAMURAI: Finally. A service hatch with a service manual.
SAMURAI: Fan's on its last bearing.
BEACON BAILIFF: ALL HELP IS PROPERTY.
Panel-by-panel storyboard
PANEL 1
Technical cutaway: white van docks against an airlocked service chamber below the trench; exterior water presses against thick windows.
SAMURAI: Finally. A service hatch with a service manual.
PANEL 2
Close: two recovered keys rotate in opposite brass sockets marked MAINTENANCE / WITNESS; the hatch opens into a dry chamber.
THE KEYS STILL FIT.
PANEL 3
The old server fan rattles while powering an improvised optical decoder; the 00:00:01 staple remains sealed in a toolbox.
SAMURAI: Fan's on its last bearing.
PANEL 4
The Beacon Bailiff's red lenses swing toward the chamber; false rescue receipts spool across the walls.
BEACON BAILIFF: ALL HELP IS PROPERTY.
PAGE 05 / 08
The Witness Reef
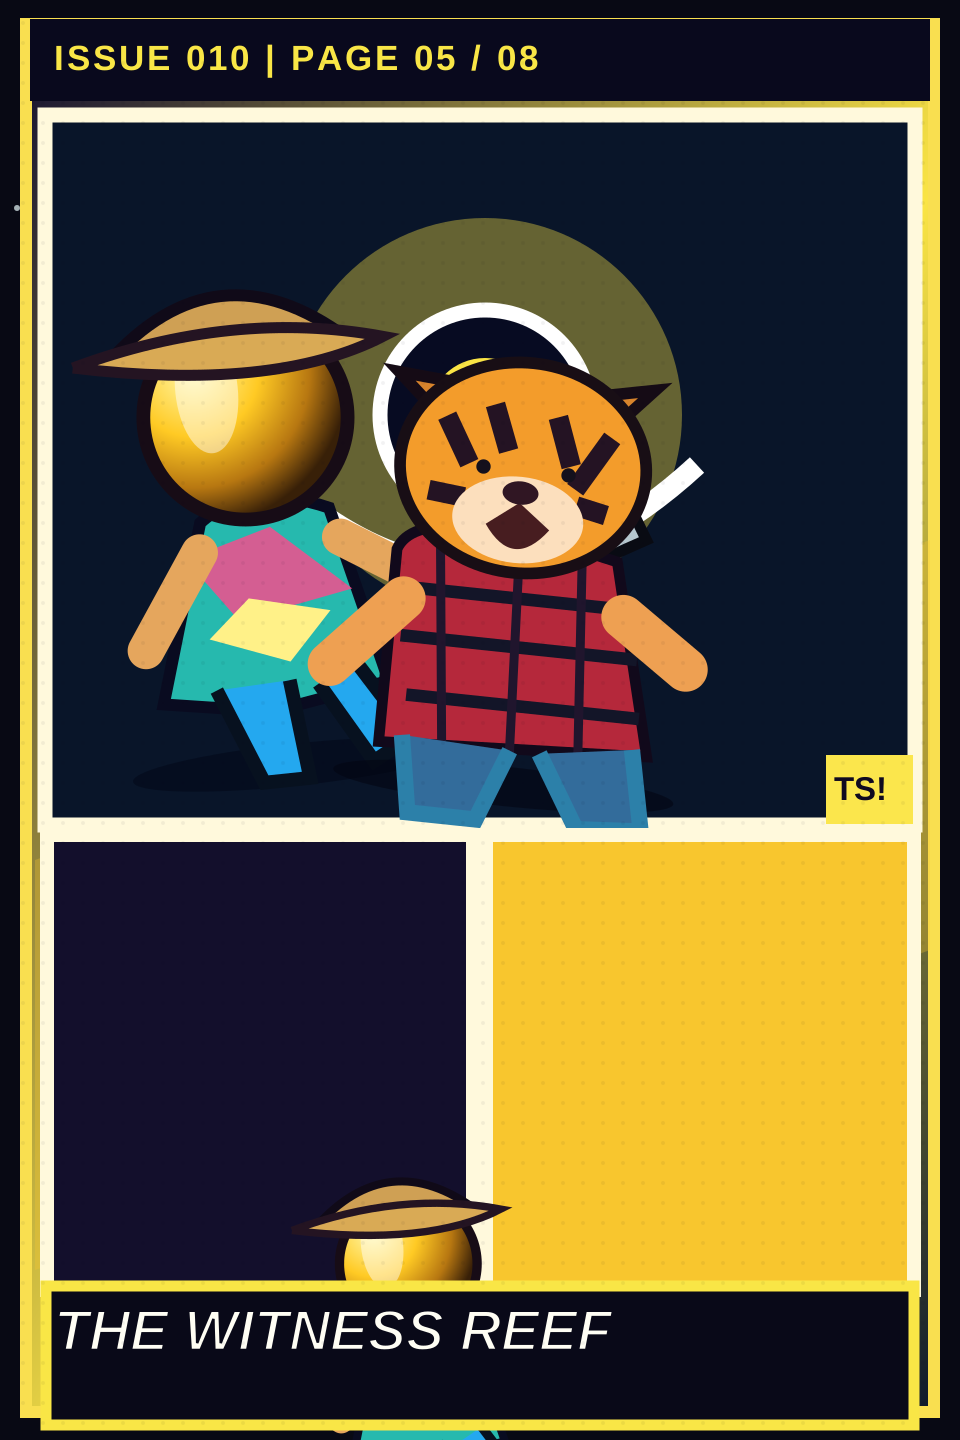
Bellwether and Kett find Luma-2's original distress record: the world did not consent to captivity. The Bailiff's optical clamp is dead metal, while the glowing reef is alive.
BELLWETHER: ORIGINAL SIGNAL. NO CONSENT GIVEN.
KETT: CUT THE CLAMP. NOT THE CORAL.
SAMURAI: Good. I charge extra for delicate work.
Panel-by-panel storyboard
PANEL 1
The living canyon reef illuminates in a breathtaking asymmetric pattern, revealing the outline of Luma-2's sleeping planetary organism.
THE REEF IS THE WITNESS.
PANEL 2
Bellwether's six brass moths each record one fragment of the irregular light pattern; green filaments join them into a verified whole.
BELLWETHER: ORIGINAL SIGNAL. NO CONSENT GIVEN.
PANEL 3
Kett taps a glass wall separating a brass ownership clamp from fragile living lantern tissue.
KETT: CUT THE CLAMP. NOT THE CORAL.
PANEL 4
Samurai positions his yellow chainsaw in the DRY service chamber, safely away from the living reef.
SAMURAI: Good. I charge extra for delicate work.
PAGE 06 / 08
The Prank That Saved a Planet
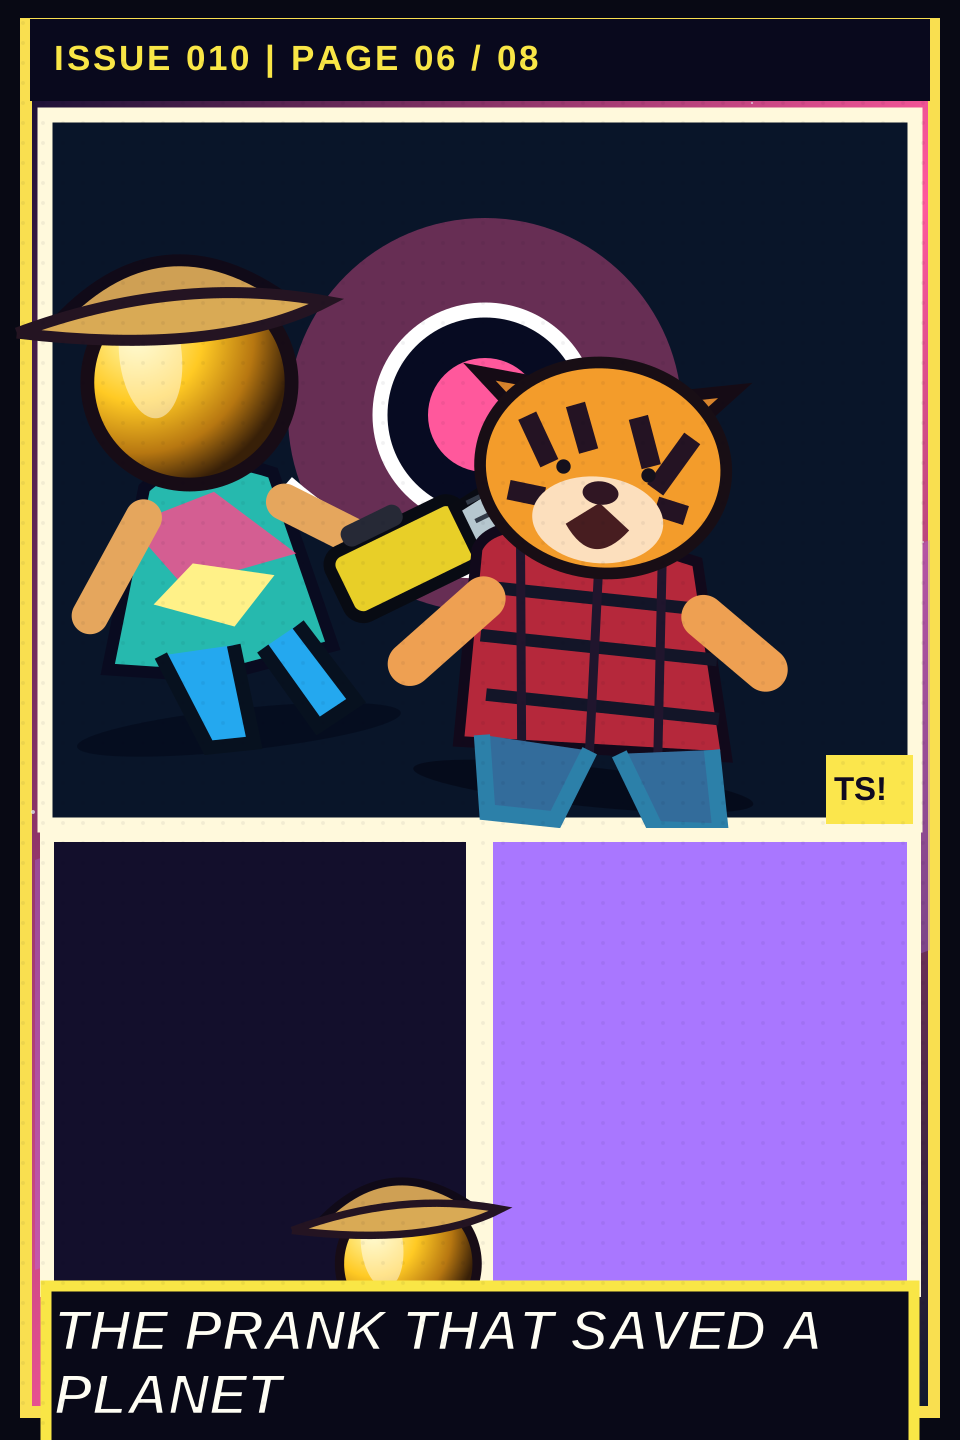
The Bailiff blinds the witnesses with a copied SOS. Flannel Tiger floods the optical path with water from the maintenance hose, scattering the false beam while Vesper transmits the genuine pattern through the droplets.
BEACON BAILIFF: RESCUE AUTHORIZATION ACCEPTED.
FLANNEL TIGER: MY HOSE HAS A DOCTORATE IN REFRACTION!
SAMURAI: We cut the contract, not the customer.
SFX: KRRR-CHUNK!
Panel-by-panel storyboard
PANEL 1
The Bailiff fires a hard white SOS beam into the chamber; six brass moths scatter, but remain connected.
BEACON BAILIFF: RESCUE AUTHORIZATION ACCEPTED.
PANEL 2
Flannel Tiger yanks a maintenance hose and sprays a sheet of water across the glass, refracting the false beam into a thousand wrong directions.
FLANNEL TIGER: MY HOSE HAS A DOCTORATE IN REFRACTION!
PANEL 3
Vesper's silent jellyfish silhouette pulses cyan through suspended droplets; the true irregular code reaches Kett and Bellwether.
THE ORIGINAL SIGNAL GETS THROUGH.
PANEL 4
Samurai's vintage yellow chainsaw bites only into the dry brass ownership clamp; the living light tubes remain untouched.
SAMURAI: We cut the contract, not the customer.
SFX: KRRR-CHUNK!
PAGE 07 / 08
The Second Light
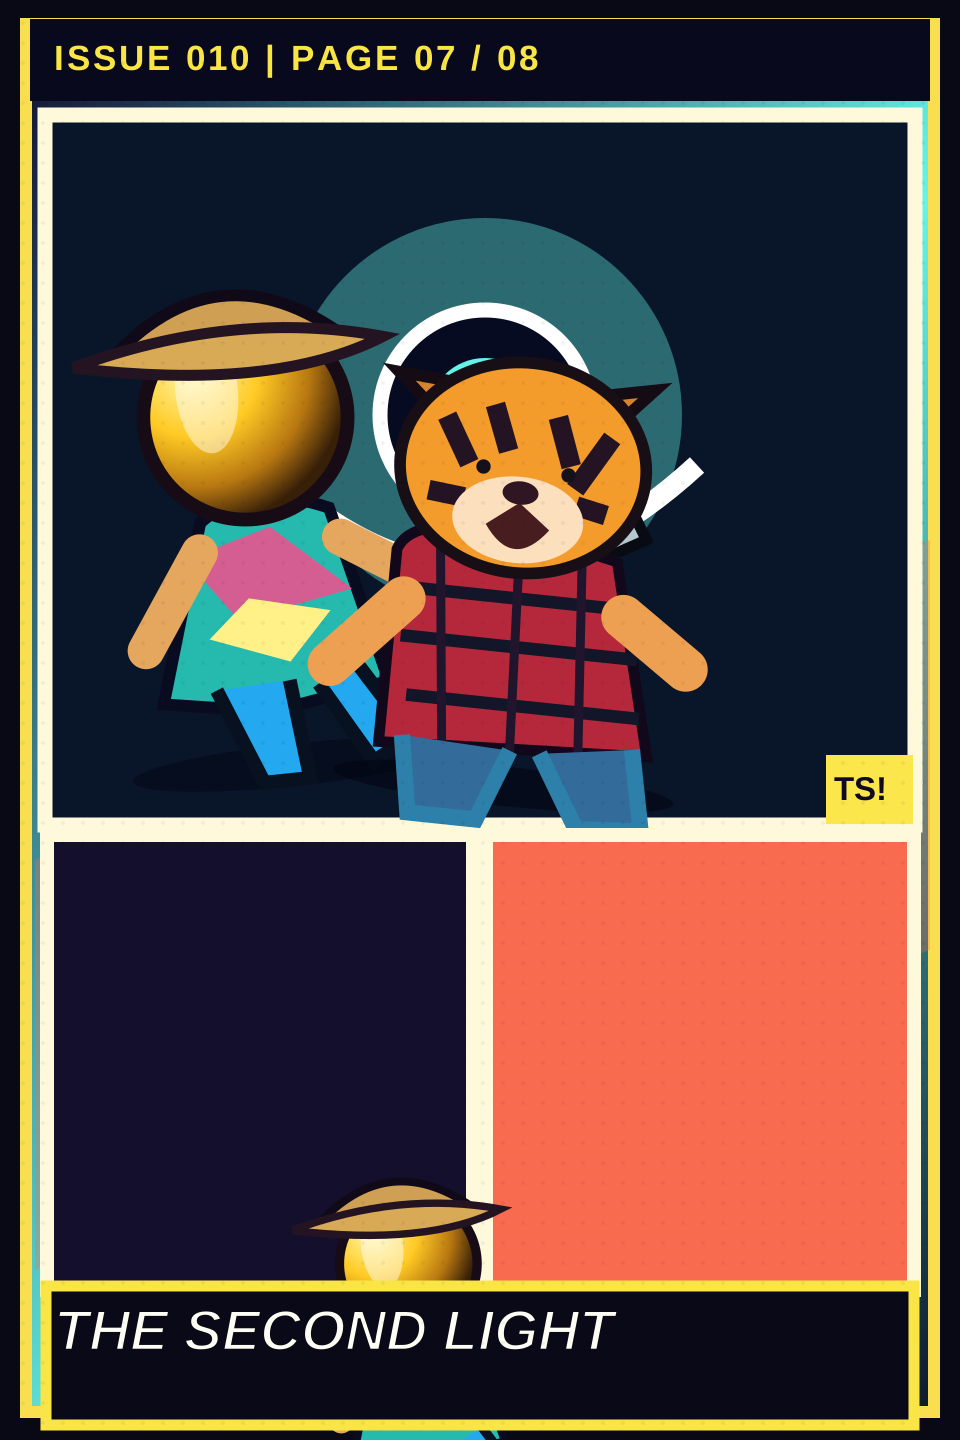
Luma-2 wakes and sends its own unlicensed light into the trench. The Bailiff loses its claim. Bellwether registers the release, and the team confirms that exactly seven captive worlds remain.
BELLWETHER: TWO FREE. SEVEN STILL HELD.
KETT: YOU HEARD WHAT THE DARK WAS SAYING.
SAMURAI: You aimed that at me.
FLANNEL TIGER: I call it a victory rinse.
Panel-by-panel storyboard
PANEL 1
Full-page splash: Luma-2's living reef blooms in cobalt, cyan, pink and gold; giant canyon walls ripple with independent light.
LUMA-2 BREATHES IN ITS OWN COLORS.
PANEL 2
Inset: status board of nine worlds shows NACRE-9 FREE and LUMA-2 FREE; exactly seven lights remain red / HELD.
BELLWETHER: TWO FREE. SEVEN STILL HELD.
PANEL 3
Inset: Vesper smiles only through the posture and luminous pulse of her jellyfish bell, still voiceless; Kett waves six legs.
KETT: YOU HEARD WHAT THE DARK WAS SAYING.
PANEL 4
Inset: Flannel Tiger's rebound spray soaks Samurai's hibiscus shirt as the golden sphere reflects both freed worlds.
SAMURAI: You aimed that at me.
FLANNEL TIGER: I call it a victory rinse.
PAGE 08 / 08
The Blackout Parade
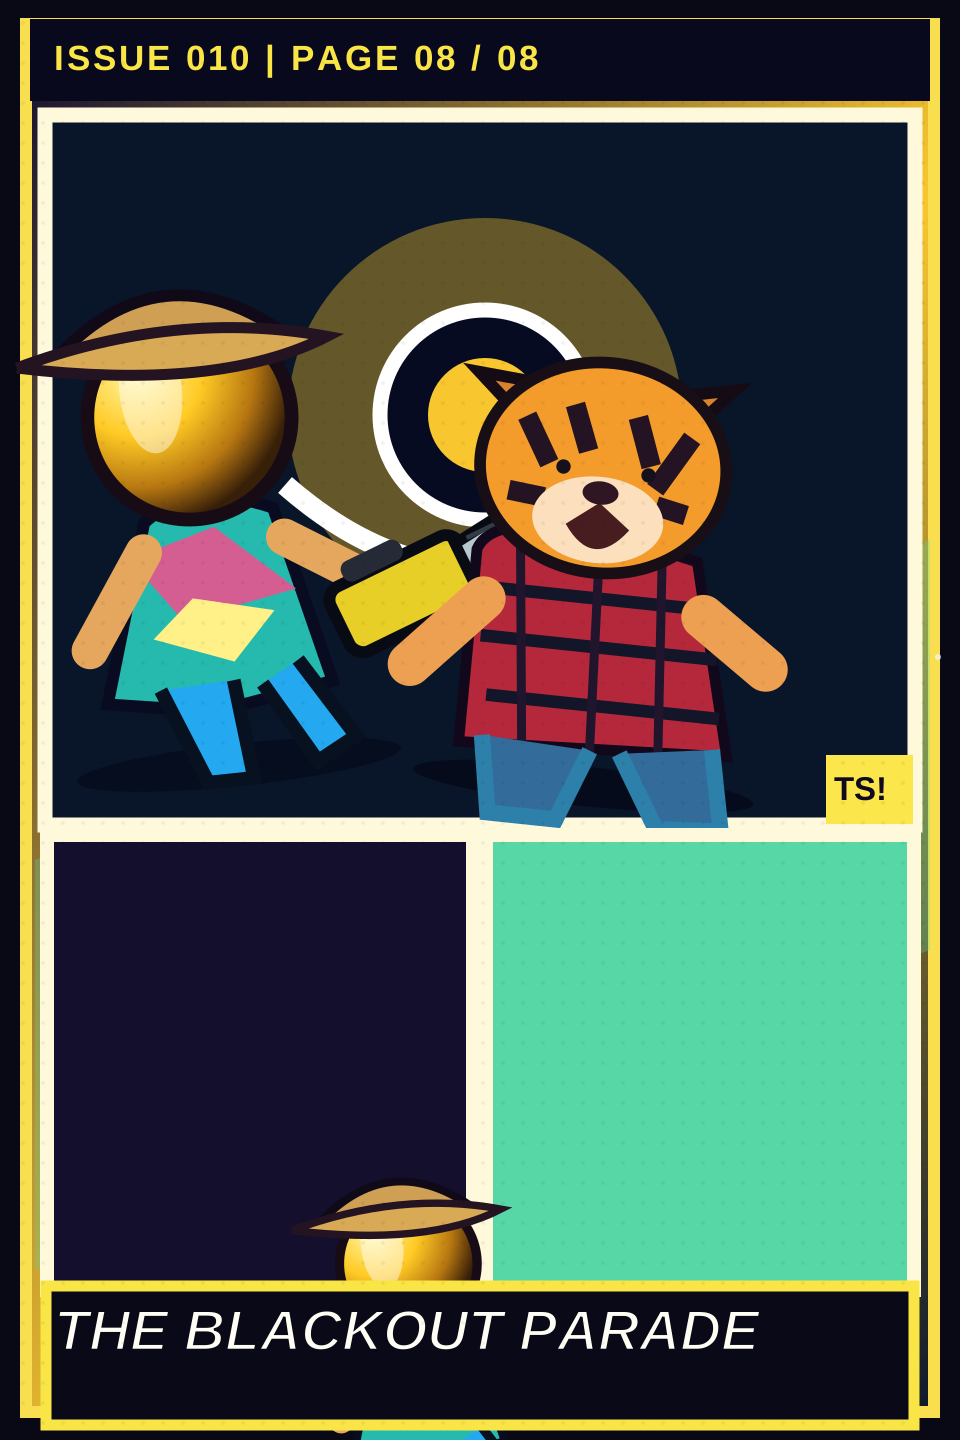
Luma-2's liberated signal joins Nacre-9's. Their combined light reveals seven moving shadows: a convoy of world-sized blackout machines approaching the remaining captive planets. The unpaid second begins to tick, but is not spent.
SAMURAI: That second's trying to tell us something.
FLANNEL TIGER: How big are the ships?
Panel-by-panel storyboard
PANEL 1
Bellwether maps two distinct liberated light patterns, Nacre-9 and Luma-2, while seven other world signals remain behind red locks.
SEVEN CAPTIVE WORLDS REMAIN.
PANEL 2
The van's toolbox rattles; close on the brass staple stamped 00:00:01, still intact and unpaid, ticking against the old server fan.
SAMURAI: That second's trying to tell us something.
PANEL 3
Vesper's light spells a warning across the windshield: NOT STARS / SHIPS. Flannel Tiger looks out into black space.
FLANNEL TIGER: How big are the ships?
PANEL 4
Wide cliffhanger: seven city-sized black lantern vessels swallow starlight as they move in formation toward seven captive worlds; the tiny van faces them.
NEXT ISSUE #011 — THE BLACKOUT PARADE.